Key Takeaways
- Writing Tools help refine, proofread, and summarize text in not just native Apple apps but also in third-party apps.
- The feature is available on devices that support iOS 18.1, iPadOS 18.1, or macOS Sequoia 15.1.
- Writing Tools work well, especially when detecting grammatical errors or rewriting text in a specific tone but should get even better in future updates.
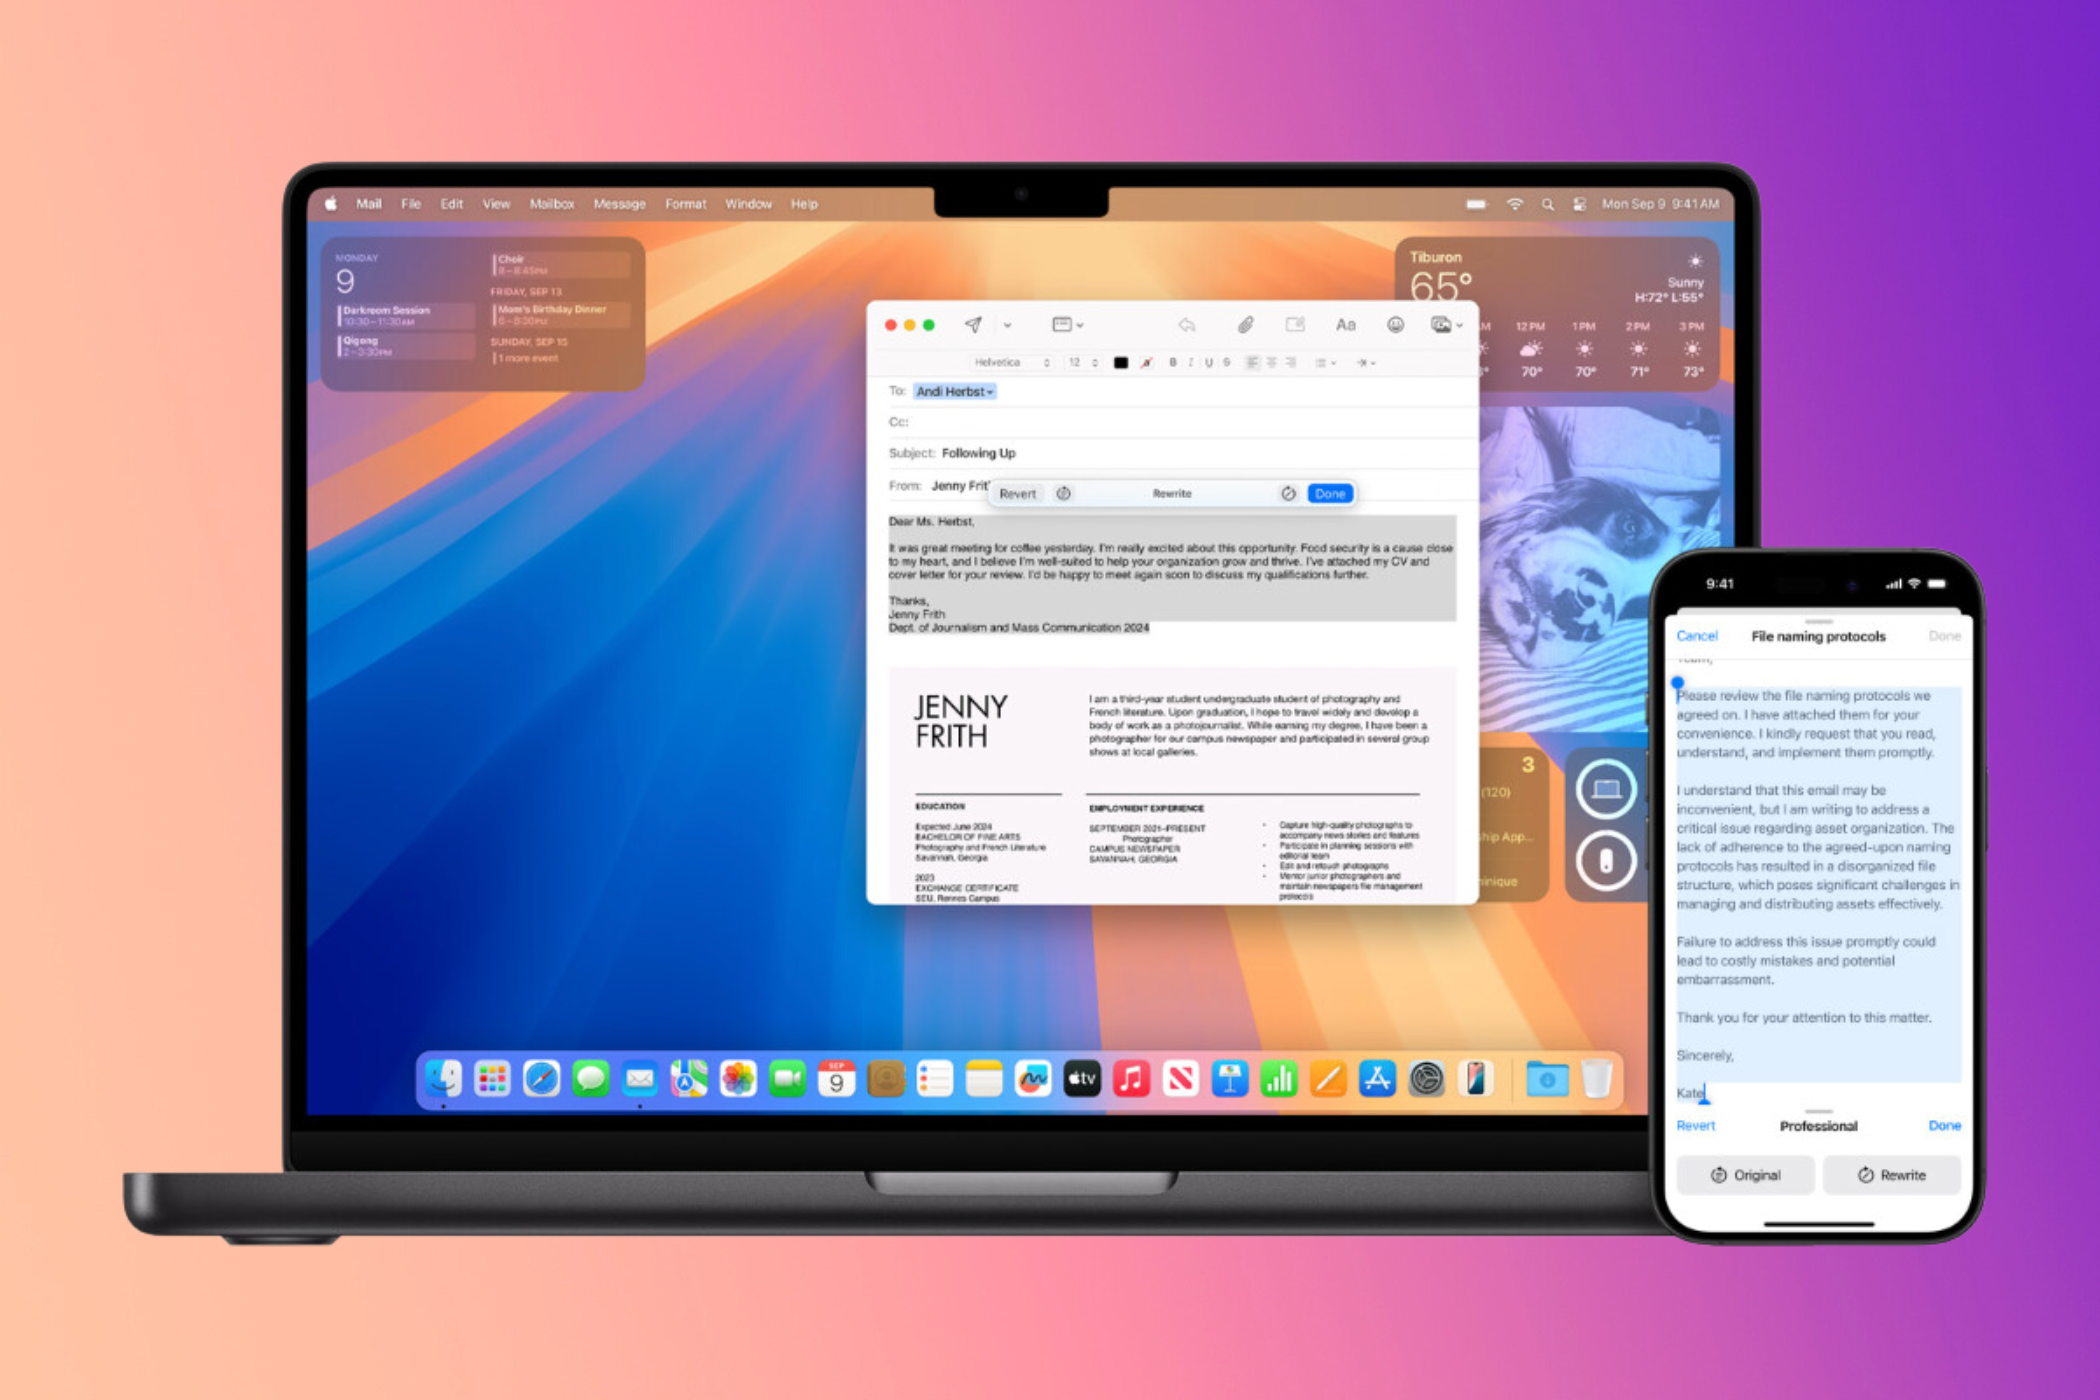
Apple has introduced Writing Tools, a key component of Apple Intelligence that helps users edit, refine, and summarize a selected piece of text. Here’s how to use the features on iPhone, iPad, and Mac.
Part of the first Apple Intelligence batch, Writing Tools includes a bunch of text-processing features that help refine your language in almost every app where you can type, including third-party apps like Gmail, WhatsApp, and Instagram.
For now, Writing Tools let you proofread, rewrite, and summarize selected text. With iOS 18.2, Apple will improve Writing Tools with ChatGPT integration, allowing you to rephrase selected text in any preferred style.
It’s not clear whether the feature will ever be expended to generate text, like writing a formal email or a casual invite to a birthday party, based on a text prompt (similar to how ChatGPT and Gemini work).
Writing Tools are available on iOS 18.1, iPadOS 18.1, and macOS Sequoia 15.1. However, only compatible iPhone, iPad, and Mac models with A17 Pro (or later) and M1 (or later) chips can access the features.
After upgrading to the required software version, you must head to the Settings menu and enable Apple Intelligence (which may involve joining a waitlist) to access Writing Tools. You can do this under (System) Settings > Apple Intelligence & Siri.
As mentioned previously, you can invoke Writing Tools in both native and third-party apps. So, whether you’re chatting to a group on your iPhone, compiling notes on an iPad, or drafting an email on a Mac, you can summon Writing Tools regardless of the app you’re using.
To invoke Writing Tools on an iPhone or iPad, all you need to do is select the text and press the “Writing Tools” button in the horizontal menu bar that appears on the screen. You can also press the Apple Intelligence button on the keyboard.
Following this, the Apple Intelligence-powered features should appear toward the bottom of the screen.
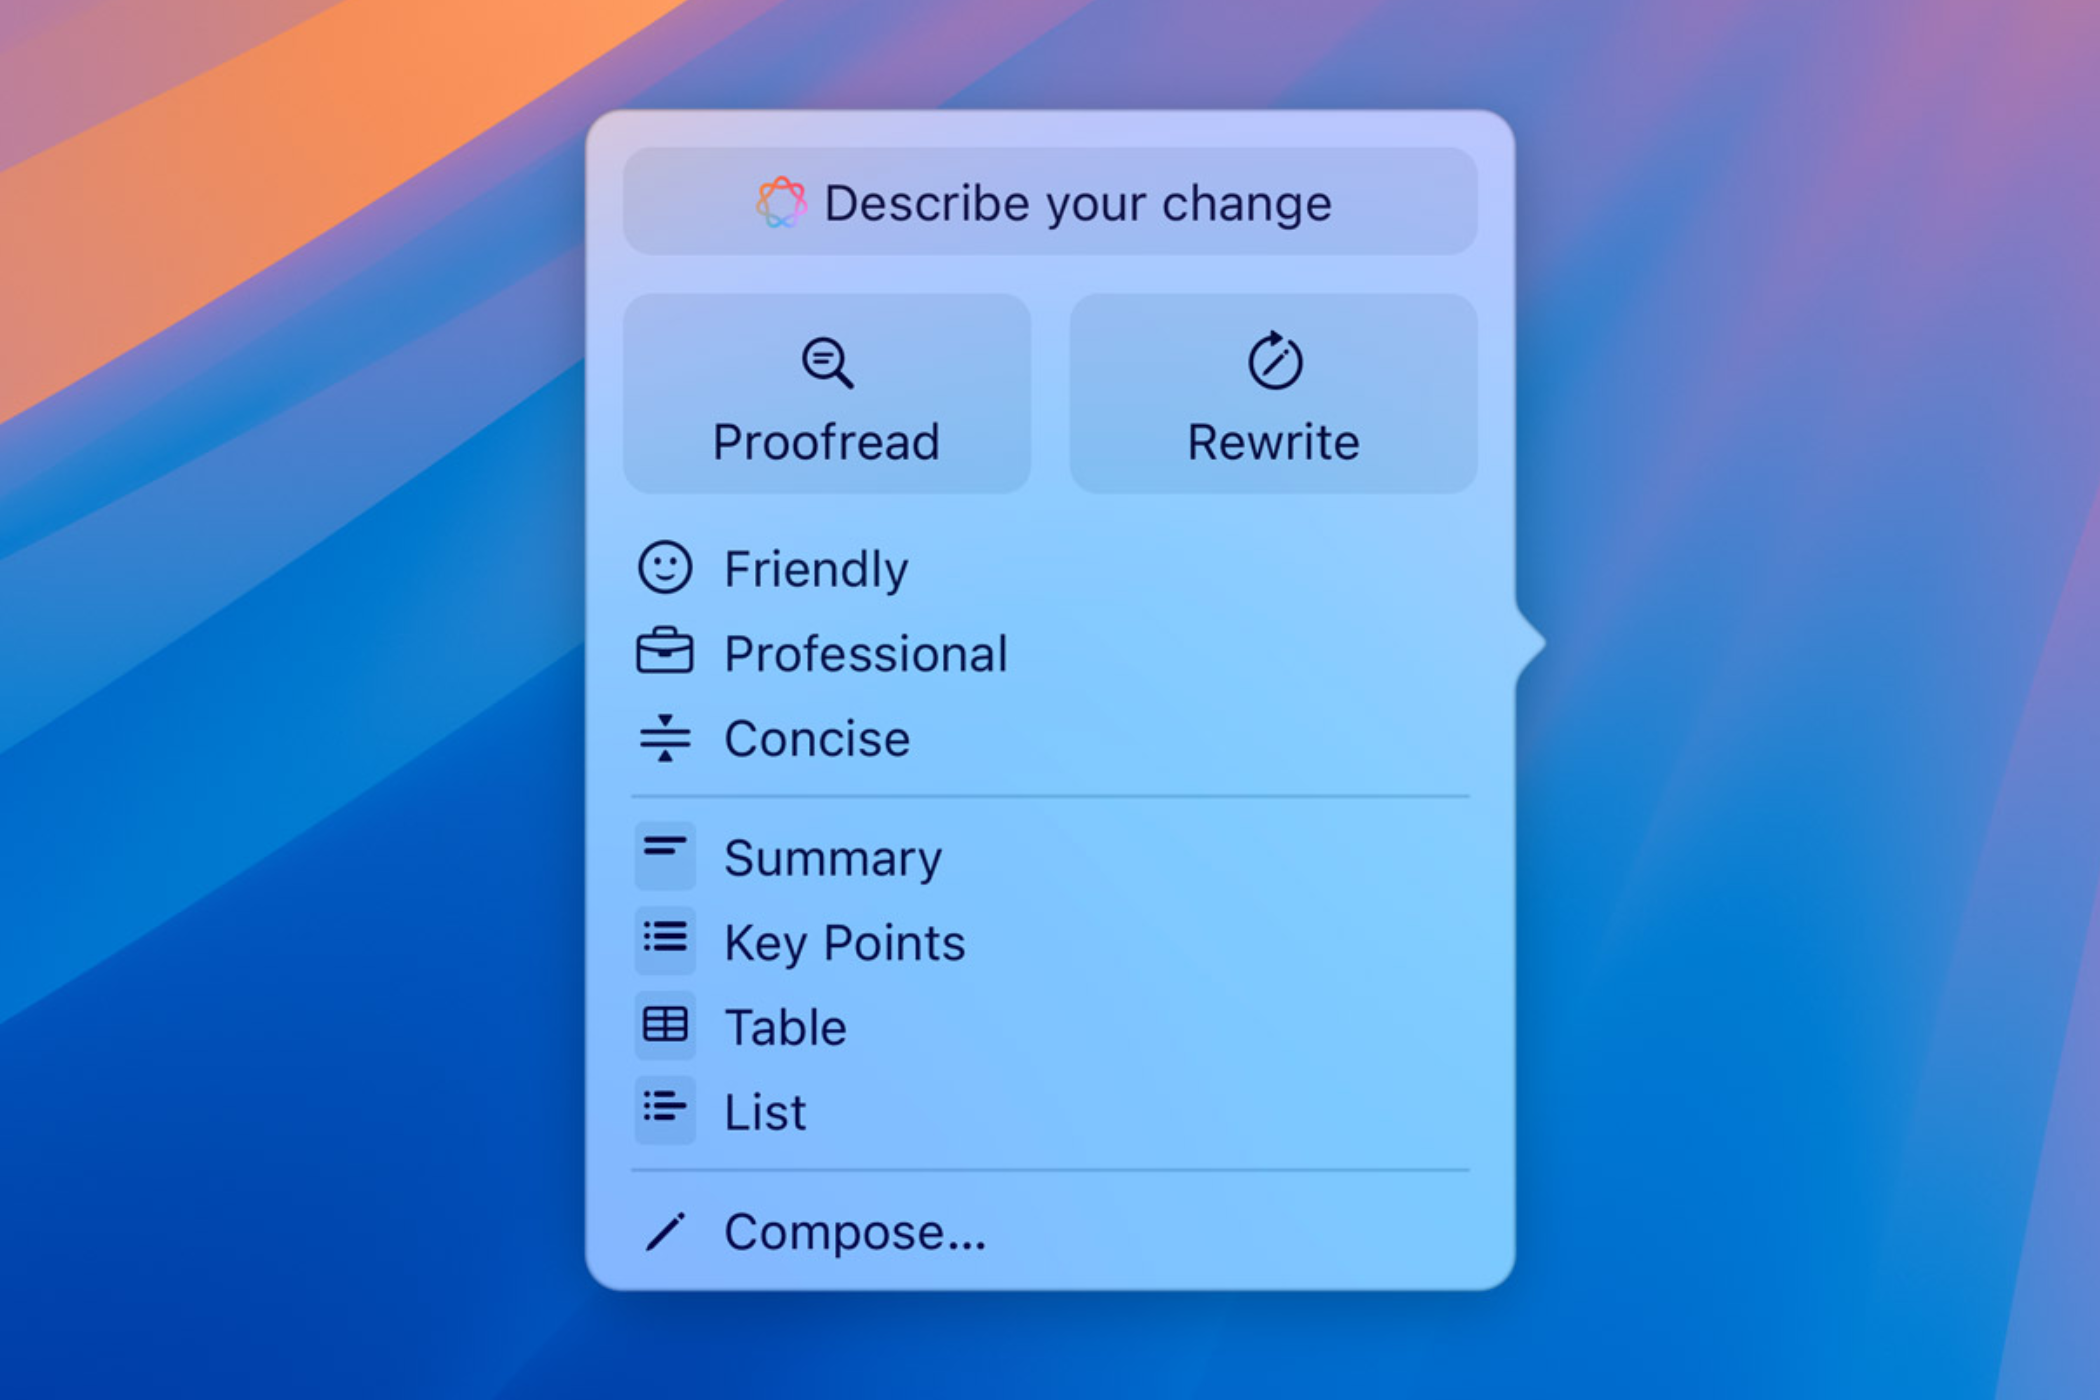
To use the Writing Tools features on a Mac, right-click the selected text and select “Writing Tools” from the drop-down menu. In total, the feature offers nine different actions, including proofreading, rewriting, changing the tone (from three available options), and summarizing or organizing text in four different ways.
While testing the feature, I noticed some issues in third-party apps. For instance, WhatsApp and Slack are no-go, but Writing Tools are available on Gmail. I did some digging and found out that other users are also facing the same problems. Maybe Apple could fix it in the next iOS update?
Look for Grammatical Errors and Spelling Mistakes With Proofread
The first Writing Tools feature, Proofread, lets you check for grammatical errors and spelling mistakes in the selected text. Although other tools (websites or apps) can do the same thing, having a built-in grammar check for messages and emails could be a boon for most iPhone owners, especially one that doesn’t rely on an active internet connection.
Simply select the text you want to check for errors and choose Writing Tools. In the menu that appears at the bottom, select Proofread. A glowing animation flows through the text, indicating that Apple Intelligence is analyzing it.
Once done, the feature revises the text with the required changes, which appear with a glowing underline.
You can then review all the changes using the on-screen arrows, discard a change if you wish to, and switch between the updated and the original version of the text.
When finished, tap “Done” to keep the changes, or tap “Revert” to retain the original version of the text.
Rewrite Text in a Different Style
The second Writing Tools feature, Rewrite, helps you refine the text you’ve already written, like class notes, a blog post, or an Instagram caption, to ensure everything reads fine. You can use the feature to generate multiple iterations of the text with different tones and save the one that you feel is the most appropriate.
Select the text you wish to refine, invoke Writing Tools, and tap on the “Rewrite” button.
This will generate a new version of the text, which reads and flows better.
To change the tone of the text, select one of the following options: Friendly, Professional, or Concise.
If you’re not satisfied with the outcome, tap the “Rewrite” button in the bottom-right corner.
To check the unedited version of the text, tap Original. When the text seems all right, hit Done toward the bottom right. This overwrites the original version of the text with the new version.
Create Summaries, Lists, or Tables
Apart from proofreading and rewriting, Apple Intelligence also lets you summarize the selected text. For this, the language model goes through the text and picks what it thinks are the key points. The feature, like other Writing Tools, could be helpful for students or professionals who go through a lot of documents or emails on a daily basis.
To shorten a text without losing its gist, select it, tap “Writing Tools,” and then hit the “Summary” button.
Apple Intelligence will summarize the text in a few lines.
If you wish to summarize the text in the form of key points, hit the “Key Points” button. This is by far my favorite option, as it creates subheadings for each bullet point and goes on to describe it in a few words.
Similarly, choosing “List” shortens the selected text and organizes it as a list.
Last but not least, choosing “Table” organizes the text as a table with information divided into rows and columns. This feature is ideal when the text contains enough information to showcase. Otherwise, it isn’t as useful as the others, and causes an error message to appear.
After generating a summary or organizing the text in the required format, you can either copy it to the clipboard, replace the original version with the summary, or share it via the iOS Share Sheet.
Given that it’s early days for Apple Intelligence features, Writing Tools works exceptionally well. I am glad I upgraded to an iPhone 16, as I can use the features for day-to-day communication. Confused between the iPhone 15 and the iPhone 16? Check out our detailed comparison to make up your mind.


