The Sensi Smart Thermostat is a popular choice for homeowners looking to upgrade their heating and cooling systems. When it comes to installing the thermostat, proper wiring is crucial for optimal performance.
In this article, we will delve into the importance of correct wiring for a Sensi Smart Thermostat and provide a step-by-step guide on how to wire it properly. Whether you’re a seasoned DIYer or someone new to home improvement projects, understanding the wiring process is essential in getting the most out of your smart thermostat.
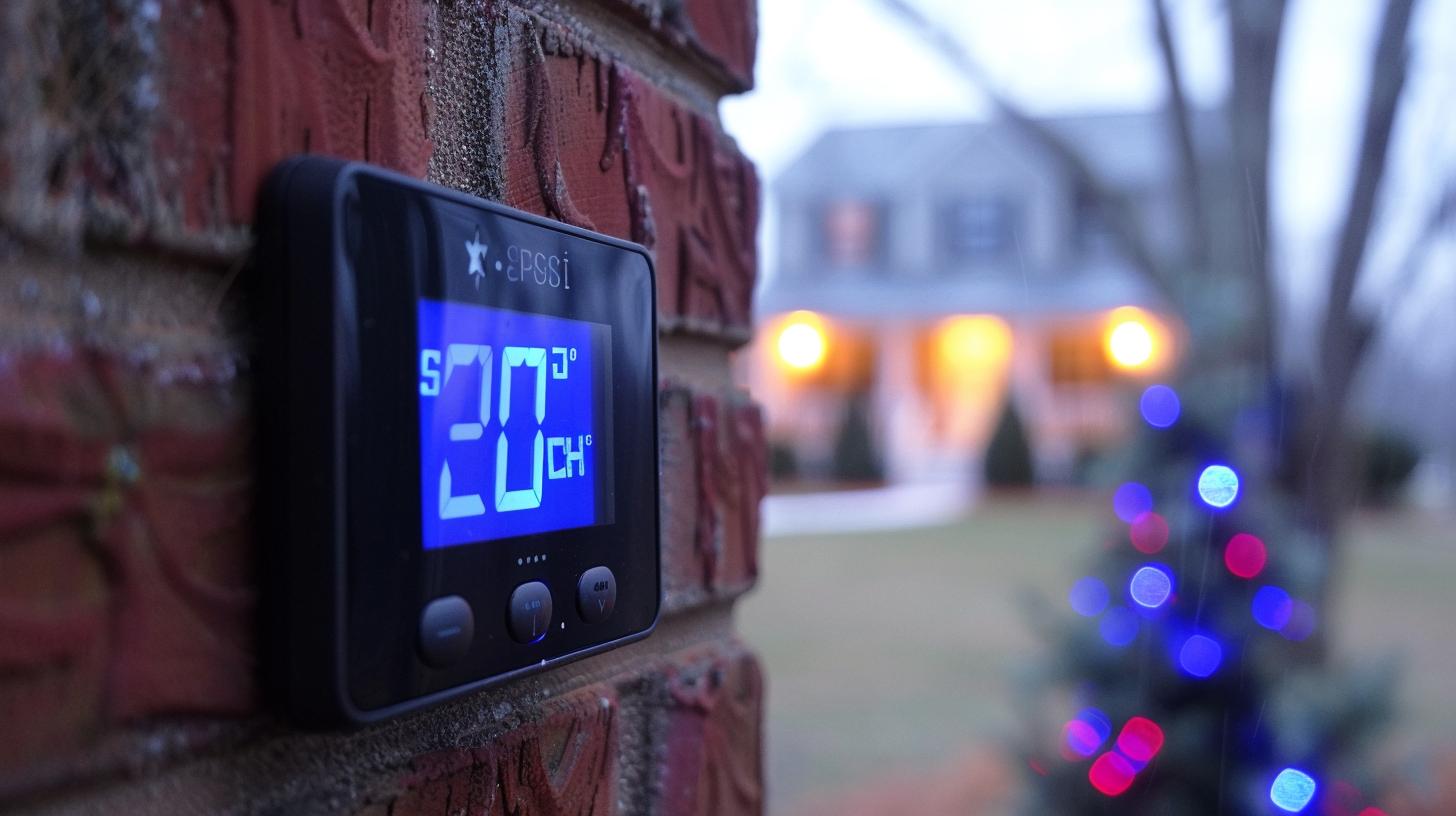
A Sensi Smart Thermostat is a Wi-Fi enabled device that allows users to remotely control the temperature in their homes through a smartphone app. It offers features such as programmable schedules, energy-saving settings, and compatibility with voice assistants like Alexa and Google Assistant. With its sleek design and user-friendly interface, the Sensi Smart Thermostat has become a popular choice for those looking to improve their home’s energy efficiency and overall comfort.
Correct wiring for the Sensi Smart Thermostat is crucial for ensuring that all of its features function properly. Improper wiring can lead to malfunctions, inefficiency, and potential damage to the thermostat or HVAC system. Understanding the different wires and their functions in the thermostat system is essential for a successful installation. In the following sections, we will provide detailed instructions on how to wire a Sensi Smart Thermostat, as well as common mistakes to avoid during the process.
Whether you are installing a new thermostat or upgrading from an older model, having the right tools at your disposal is essential for a smooth installation process. In the next section, we will list the tools needed for installing a Sensi Smart Thermostat and provide tips on how to use them effectively.
Additionally, we will discuss compatibility with different HVAC systems and explore whether professional installation or DIY is the right choice for you. Stay tuned as we guide you through the process of correctly wiring your Sensi Smart Thermostat for optimal performance.
Importance of Correct Wiring
A correctly wired Sensi Smart Thermostat is crucial for its optimal performance and functionality. Proper wiring ensures that the thermostat operates efficiently, provides accurate temperature control, and integrates seamlessly with your HVAC system. In this section, we will delve into the importance of correct wiring for a Sensi Smart Thermostat and why it is essential to pay attention to this aspect during installation.
Efficient Functionality
Correct wiring plays a significant role in the efficient functionality of the Sensi Smart Thermostat. The thermostat relies on the electrical connections of the wiring to communicate with the heating and cooling systems in your home. If the wiring is not done properly, it can result in intermittent connectivity issues, inaccurate temperature readings, or even complete malfunctions of the thermostat.
Accurate Temperature Control
Proper wiring is essential for ensuring that the Sensi Smart Thermostat accurately controls the temperature in your home. Each wire serves a specific function in the HVAC system, such as delivering power, signaling heat or cooling modes, or activating fan operations. If these wires are not connected correctly to the thermostat terminals, it can lead to discrepancies in temperature readings and inefficient operation of your heating and cooling systems.
Seamless Integration
The correct wiring of a Sensi Smart Thermostat allows for seamless integration with your HVAC system. When installed properly, the thermostat can effectively communicate with your heating and cooling equipment, enabling smooth transitions between heating and cooling modes and efficient energy usage. This integration is crucial for maintaining a comfortable indoor environment while minimizing energy waste.
It is important to note that inaccurately wired sensi smart thermostats can also pose safety hazards by causing short circuits or electrical damage within your HVAC system. Therefore, ensuring correct wiring is imperative for both functional efficiency and safety considerations. Ultimately, proper wiring guarantees that you can fully utilize all the features of your Sensi Smart Thermostat while maximizing its energy-saving potential.
Understanding the Wiring
When it comes to installing a Sensi Smart Thermostat, understanding the wiring system is crucial for a successful installation. The thermostat relies on different wires to communicate with the heating and cooling system of a home, making it essential to comprehend their functions and how they should be connected. In this section, we will delve into the specifics of the different wires used in thermostat systems and their respective functions.
Common Wires Used
The most common wires used in a thermostat system are the R (power), C (common), Y (cooling), W (heating), G (fan), and Rh or Rc (which are essentially two transformer power supply connections). These wires play essential roles in ensuring that the heating and cooling system operates properly when connected to the Sensi Smart Thermostat.
Functions of Each Wire
- R wire: The R wire provides power to the thermostat. It is typically red in color.
- C wire: The C wire serves as the common wire, completing the circuit while providing a constant flow of power to the thermostat. Not all systems have this wire, but it is highly recommended for optimal performance of a Sensi Smart Thermostat.
- Y wire: The Y wire controls the air conditioning unit.
- W wire: The W wire is responsible for activating the heating system.
- G wire: The G wire activates the fan to distribute either hot or cold air throughout the home.
- Rh/Rc wires: When present, these wires provide power from two transformers.
Compatibility Considerations
It’s important to note that not all HVAC systems use all these wires. Before any installation, users should ensure that their heating and cooling systems are compatible with the Sensi Smart Thermostat wiring requirements. This may require consulting with an HVAC professional or referring to the thermostat’s manual for guidance.
Understanding how each wire functions within a thermostat system is crucial for proper installation and can help avoid potential issues down the line. With this knowledge, homeowners can confidently move forward with wiring their Sensi Smart Thermostat for efficient operation.
Tools Needed
When it comes to installing a Sensi Smart Thermostat, having the right tools is crucial to ensure a smooth and successful installation process. Here is a list of tools that you will need in order to properly install your Sensi Smart Thermostat.
1. Screwdriver: A screwdriver is an essential tool for removing the cover of your current thermostat and for securing the wiring in place when installing the new Sensi Smart Thermostat.
2. Wire cutter/stripper: This tool will be necessary for trimming and stripping the ends of the wires in order to connect them to the terminals on the new thermostat.
3. Power drill and drill bits: If you need to install any anchors or screws for mounting the new thermostat, a power drill will come in handy.
4. Level: To ensure that your new Sensi Smart Thermostat is mounted straight and level on the wall, using a level is important for achieving a professional-looking installation.
5. Pencil and tape measure: Before drilling any holes or mounting the new thermostat, it’s useful to mark and measure where you want it to be positioned on the wall.
6. Smartphone or tablet: While not necessarily a traditional tool, having access to a smartphone or tablet will be helpful when following step-by-step installation instructions or troubleshooting any issues with the Sensi app.
It’s important to have all these tools on hand before starting the installation process of your Sensi Smart Thermostat. With these tools ready, you can ensure that your installation will proceed smoothly and efficiently, resulting in optimal performance from your new smart thermostat.
Step-by-Step Installation Guide
Installing a Sensi Smart Thermostat is a relatively straightforward process, but it does require careful attention to detail, especially when it comes to the wiring. Proper installation and wiring ensure that the thermostat functions correctly and efficiently, providing optimal heating and cooling in your home. In this section, we will provide a detailed step-by-step guide on how to wire a Sensi Smart Thermostat.
Tools Needed
Before you start the installation process, it’s important to make sure you have all the necessary tools on hand. Here’s what you’ll need:
- Flathead screwdriver
- Phillips head screwdriver
- Drill (if you need to install wall anchors)
- Wire cutter/stripper
- Voltage tester (for safety)
Step-by-Step Installation Guide
1. Shut off power: Before doing anything, turn off the power supply to your HVAC system at the breaker or fuse box.
2. Remove the old thermostat: Carefully remove the cover of your old thermostat and take note of which wires are connected to which terminals.
3. Label the wires: It’s crucial to label each wire according to its terminal designation before disconnecting them from the old thermostat. This will make wiring the new thermostat much easier.
4. Remove mounting plate: Unscrew and remove the old mounting plate from the wall.
5. Install new mounting plate: Use a drill and wall anchors if necessary to install the new mounting plate for your Sensi Smart Thermostat.
6. Connect the wires: Use your labeled wires to connect each one to its corresponding terminal on the new thermostat. The common wire (C-wire) is particularly important for powering smart thermostats like Sensi.
7. Attach thermostat base: Once all wires are connected, attach the base of the thermostat to the mounting plate.
8. Test and power up: Turn on your HVAC system at the breaker or fuse box and test that your Sensi Smart Thermostat is functioning correctly.
Common Wiring Mistakes to Avoid
When wiring your Sensi Smart Thermostat, there are some common mistakes that should be avoided in order to ensure proper functionality:
- Incorrectly matching wires with terminals
- Failing to properly secure wires in terminals
By following this step-by-step guide and avoiding these common mistakes, you can successfully wire your Sensi Smart Thermostat for optimal performance in your home environment.
Common Wiring Mistakes to Avoid
When it comes to installing a Sensi Smart Thermostat, proper wiring is crucial for its optimal performance. By avoiding common wiring mistakes, you can ensure that your thermostat functions as intended and provides efficient heating and cooling control in your home.
One of the most common mistakes when wiring a Sensi Smart Thermostat is not turning off the power before starting the installation process. It is essential to shut off the power at the circuit breaker to avoid any electrical accidents or damage to the thermostat during installation. Failing to do so can result in a short circuit or even cause harm to the individual performing the installation.
Another mistake to avoid is mismatching the wires during installation. Each wire in the HVAC system serves a specific function, and it is crucial to match them correctly with the corresponding terminals on the Sensi Smart Thermostat. Using a wiring diagram or labeling each wire can help prevent this mistake and ensure that the thermostat operates properly.
Furthermore, failing to properly secure the wires in place can lead to connection issues and unreliable performance of the thermostat. It is important to make sure that all wires are securely fastened to their respective terminals on the thermostat. Loose connections can cause erratic behavior and malfunctioning of the heating and cooling system.
Additionally, using old or damaged wires for installation can lead to problems with the functioning of the Sensi Smart Thermostat. Over time, wires can become worn out or damaged, which can affect their conductivity and cause issues with the thermostat’s operation. It is recommended to use new, high-quality wires for installation to avoid any potential wiring-related problems.
Lastly, overlooking compatibility issues with your HVAC system can result in incorrect wiring of the Sensi Smart Thermostat. Different HVAC systems may require specific wiring configurations, and it is important to ensure that your system is compatible with the thermostat before beginning the installation process. Consulting a professional or referring to manufacturer guidelines can help address any compatibility concerns.
By being aware of these common wiring mistakes and taking necessary precautions during installation, you can avoid potential issues with your Sensi Smart Thermostat and enjoy efficient temperature control in your home.
Troubleshooting
When it comes to installing a Sensi Smart Thermostat, proper wiring is crucial for the optimal performance of the system. However, even with careful installation, there may still be instances where wiring issues arise. In this section, we will discuss how to troubleshoot common wiring issues with the Sensi Smart Thermostat.
One of the most common issues that users may encounter is a blank or unresponsive display on the thermostat. This could be an indication of a wiring problem. The first step in troubleshooting this issue is to ensure that the thermostat is receiving power. Check the circuit breaker to make sure it has not been tripped and verify that the C-wire is properly connected.
Another potential issue could be incorrect wiring connections. It’s important to double-check each wire connection and ensure they are securely fastened to their respective terminals on the thermostat base. Refer to the user manual or online resources provided by Sensi for guidance on proper wiring configuration.

If certain areas of your home are not reaching the desired temperature, it could be a sign of improper wiring or a faulty connection. In this case, you may need to inspect the wires for any signs of damage or corrosion. It’s also important to make sure that the wires are connected to the correct terminals and that they are not crossed or shorted.
In some cases, despite proper wiring, there may be compatibility issues between the Sensi Smart Thermostat and your HVAC system. This could result in erratic behavior or malfunctioning of the thermostat. Before troubleshooting further, it’s important to verify if your HVAC system is compatible with the Sensi Smart Thermostat and if any additional accessories or adapters are required for seamless integration.
If after thorough troubleshooting you are unable to resolve the wiring issues with your Sensi Smart Thermostat, it may be necessary to seek professional assistance. A certified HVAC technician can perform a comprehensive evaluation of your system and identify any underlying issues with the wiring or compatibility.
Compatibility With Different HVAC Systems
The Sensi Smart Thermostat is designed to be compatible with a wide range of heating and cooling systems, making it a versatile option for both residential and commercial settings. Whether you have a traditional HVAC system, heat pump, boiler, or radiant heat, the Sensi Smart Thermostat can be wired to work with your specific setup.
When it comes to wiring the Sensi Smart Thermostat to different HVAC systems, it’s important to understand the compatibility requirements and potential challenges that may arise. The thermostat requires a C-wire (common wire) for power, which is standard in most newer heating and cooling systems. However, older systems may not have this wire readily available, so additional wiring or modifications may be necessary.
For traditional HVAC systems that use a furnace and air conditioner, the wiring process for the Sensi Smart Thermostat is relatively straightforward. The thermostat will typically connect to the control board of the furnace, allowing it to communicate with both the heating and cooling components of the system. The process may vary slightly depending on whether you have a single-stage or multi-stage system, but the installation instructions provided by Sensi should cover these differences.
Heat pumps require specific wiring configurations to ensure proper operation with the Sensi Smart Thermostat. In addition to the standard wires for power (C-wire), heating (W1), cooling (Y1), and fan (G), heat pumps may also require additional wires for auxiliary heat (W2) and reversing valve (O/B). Understanding how these wires correspond to your specific heat pump model is crucial for successful installation.
Boilers and radiant heat systems pose unique challenges when it comes to wiring a smart thermostat like Sensi. These systems often rely on line voltage thermostats rather than low voltage ones, so additional equipment such as a relay or transformer may be needed to integrate the Sensi Smart Thermostat into the system. It’s important to consult an HVAC professional if you’re unsure about how to proceed with wiring in these scenarios.
Ultimately, while DIY installation of a Sensi Smart Thermostat is possible for many homeowners, there are cases where professional assistance may be necessary due to complex wiring requirements or older HVAC systems that don’t readily support smart thermostat technology like this one.
By understanding your specific HVAC system’s wiring needs and compatibility with the Sensi Smart Thermostat, you can make an informed decision about whether DIY installation or professional help is the best route for achieving optimal performance from your new thermostat.
Professional Installation vs DIY
When it comes to installing a Sensi Smart Thermostat, homeowners have the option to either hire a professional or take on the installation as a do-it-yourself project. Both options have their pros and cons, and it’s important to weigh them carefully before making a decision.
Hiring a professional for the installation of a Sensi Smart Thermostat has its advantages. Firstly, professionals have the knowledge and expertise to correctly wire the thermostat to ensure optimal performance. They are familiar with HVAC systems and can troubleshoot any issues that may arise during the installation process. Additionally, by hiring a professional, homeowners can avoid any potential safety hazards that may result from improperly wired thermostats.
On the other hand, opting for a DIY installation also has its benefits. It allows homeowners to save on installation costs, as they won’t need to pay for professional services. DIY enthusiasts may also find satisfaction in successfully completing the installation themselves. With the availability of detailed step-by-step instructions and online tutorials, many homeowners feel confident in handling the wiring of their Sensi Smart Thermostat on their own.
However, there are potential risks associated with DIY installations. Incorrectly wiring your sensi smart thermostat wiring can result in system malfunctions or even damage to the thermostat itself or to your HVAC system. This could end up costing more than hiring a professional in the first place. It’s important for homeowners considering a DIY installation to carefully read through the manufacturer’s instructions and ensure they have a good understanding of their HVAC system’s wiring before proceeding.
Conclusion
In conclusion, the proper wiring of a Sensi Smart Thermostat is crucial for ensuring optimal performance and efficiency. Understanding the different wires and their functions in the thermostat system is essential for a successful installation. It is important to use the correct tools and follow a step-by-step guide to ensure that the thermostat is wired correctly.
Avoiding common wiring mistakes is also essential in order to prevent potential issues with the functioning of the thermostat. Troubleshooting any wiring issues that may arise during or after installation is important for maintaining the optimal performance of the Sensi Smart Thermostat.
Furthermore, it is important to consider the compatibility of the thermostat with different HVAC systems when wiring it. Each system may have specific requirements, and understanding these requirements can help ensure a successful installation.
While some homeowners may choose to install the Sensi Smart Thermostat themselves, it is important to weigh the pros and cons of hiring a professional for installation. A professional installer may have expertise in dealing with various HVAC systems and can ensure that the thermostat is correctly wired for optimal performance.
In summary, correctly wiring a Sensi Smart Thermostat is essential for its proper function. By understanding the importance of proper wiring, using appropriate tools, following a step-by-step guide, avoiding common mistakes, troubleshooting any issues, considering compatibility with different HVAC systems, and weighing the options of professional installation vs DIY, homeowners can ensure that their Sensi Smart Thermostat operates efficiently and effectively for years to come.