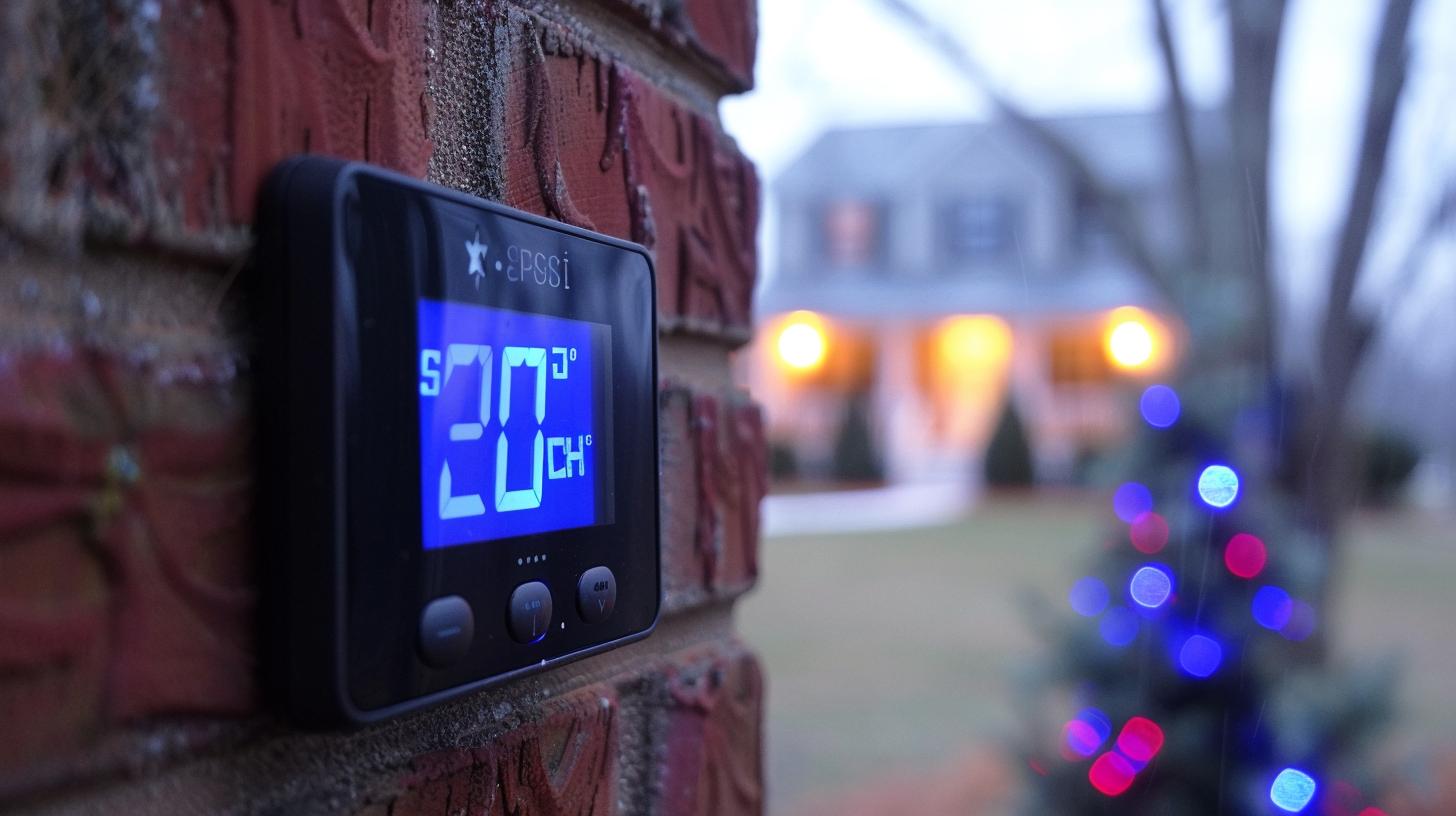
The Sensi Thermostat is a smart and energy-efficient solution for controlling the temperature in your home. In this article, we will provide you with a comprehensive guide to setting up your Sensi Thermostat and making the most of its features. Whether you’re a first-time user or looking to upgrade your current thermostat, learning how to set up and program the Sensi Thermostat can help you save money on your energy bills and create a comfortable living environment.
The keyword “sensi thermostat set up” involves the process of configuring and installing the Sensi Thermostat in your home. This article will walk you through the entire set-up process, from understanding the benefits of using a Sensi Thermostat to troubleshooting common issues that may arise during installation. By the end of this guide, you’ll be equipped with all the knowledge you need to enjoy optimal performance from your Sensi Thermostat.
In the following sections, we will discuss the benefits of using a Sensi Thermostat, explain in detail the set-up process, including the tools needed for installation, provide a step-by-step guide to installing the thermostat, cover how to connect it to Wi-Fi, and offer tips for programming and customizing your settings. Additionally, we’ll address common issues that may occur during set-up and provide tips for maximizing efficiency once your Sensi Thermostat is in place.
Whether you’re interested in reducing your energy consumption, saving money on heating and cooling costs, or simply enhancing the comfort of your living space, learning how to set up a Sensi Thermostat can be an important step towards achieving these goals. So let’s dive into this comprehensive guide and get started on setting up your own Sensi Thermostat for maximum comfort and efficiency.
Benefits of Using a Sensi Thermostat
A Sensi Thermostat is a smart and convenient way to control the temperature in your home. With its user-friendly interface and energy-saving features, it offers numerous benefits to homeowners. From saving money on energy bills to providing maximum comfort, there are many reasons why using a Sensi Thermostat can be advantageous.
Energy Efficiency
One of the key benefits of using a Sensi Thermostat is its ability to help users save energy and reduce their utility bills. With its advanced features, such as geofencing and flexible scheduling, the thermostat can automatically adjust the temperature based on your preferences and occupancy patterns. This means that energy is not wasted heating or cooling an empty home, leading to significant cost savings over time.
Remote Access
Another advantage of a Sensi Thermostat is its remote access capabilities. Using the accompanying mobile app, homeowners can control the thermostat from anywhere, at any time. Whether you’re at work, on vacation, or simply lounging in bed, you can easily adjust the temperature settings to ensure optimal comfort and efficiency in your home.
Compatibility With Smart Home Systems
Sensi Thermostats are designed to seamlessly integrate with popular smart home systems such as Amazon Alexa, Google Assistant, and Apple HomeKit. This means that you can effortlessly incorporate your thermostat into your existing smart home setup for a more streamlined and connected living experience.
User-Friendly Interface
The Sensi Thermostat comes with a user-friendly interface that makes it easy for anyone to use and customize their heating and cooling preferences. The clear display and intuitive controls eliminate any confusion when adjusting settings or programming the thermostat for optimal performance.
Certified Performance
Sensi Thermostats are backed by professional HVAC contractor reviews and certifications from industry-leading organizations like ENERGY STAR®. This means that you can trust in the quality and performance of your Sensi Thermostat, knowing that it has been rigorously tested for reliability and efficiency.
Understanding the Sensi Thermostat Set Up Process
Understanding the Sensi Thermostat Set Up Process
When it comes to setting up a Sensi thermostat, it’s important to understand the process involved. The set up process involves installing the thermostat, connecting it to Wi-Fi, and programming it to your preferences. This section will provide a detailed overview of each step involved in setting up your Sensi thermostat.
Tools Needed for Setting Up a Sensi Thermostat
Before you begin the set up process for your Sensi thermostat, there are some tools that you will need. These include a screwdriver, wire cutter/stripper, and possibly a power drill if you need to install a new mounting plate. It’s important to have these tools on hand before you start the installation process to ensure a smooth and efficient set up.
Step-by-Step Guide to Installing the Sensi Thermostat
The first step in setting up your Sensithermostat is installing the device itself. This involves removing your old thermostat (if applicable), installing the new mounting plate (if necessary), connecting the wires from your HVAC system, and mounting the Sensi thermostat onto the wall. The specific steps may vary depending on your existing HVAC system and wiring configuration.
Next, you’ll need to connect the wires from your HVAC system to the corresponding terminals on the Sensi thermostat. This step requires careful attention to detail to ensure that each wire is connected correctly. Following this, you can secure the thermostat onto its mounting plate and continue with connecting it to Wi-Fi.
Connecting the Sensi Thermostat to Wi-Fi
Once your Sensi thermostat is installed, the next step is connecting it to your home’s Wi-Fi network. This allows you to control and program your thermostat remotely using the Sensi app on your smartphone or tablet. The process involves accessing the Wi-Fi settings on the thermostat, selecting your home network, and entering your Wi-Fi password. Once connected, you can begin programming and customizing your thermostat settings.
This completes an overview of understanding how to set up a sensi thermostat along with essential tips needed for its installation.
Tools Needed for Setting Up a Sensi Thermostat
When setting up a Sensi Thermostat, it is important to have the right tools on hand to ensure a smooth and successful installation process. Here are the essential tools you will need to set up your Sensi Thermostat:
1. Screwdriver: You will need a screwdriver to remove your old thermostat from the wall and to secure the base of the new Sensi Thermostat.
2. Level: A level will help you ensure that your new Sensi Thermostat is properly aligned when mounting it on the wall.
3. Wire labels: It is important to label the wires connected to your old thermostat before removing it. This will make it easier to connect the wires to the corresponding terminals on your new Sensi Thermostat.
4. Power drill (optional): If you are mounting your Sensi Thermostat on a hard surface, a power drill may be necessary for drilling pilot holes before securing it in place.
5. Smartphone or tablet: While not exactly a tool, having access to a smartphone or tablet during set up can be useful for following installation instructions and connecting your Sensi Thermostat to Wi-Fi.
Having these tools readily available will streamline the set up process, making it easier for you to enjoy all the benefits of using a Sensi Thermostat in your home.
By being prepared with these tools, you can ensure that the installation process goes smoothly and efficiently, allowing you to start benefiting from your new Sensi Thermostat as soon as possible.
Step-by-Step Guide to Installing the Sensi Thermostat
The installation process for a Sensi thermostat is relatively simple and can be completed in just a few steps. Before starting, it’s important to turn off the power to your heating and cooling system at the breaker to ensure safety. Once that’s done, you can begin the installation process.
First, remove your existing thermostat from the wall and take note of the wires connected to it. Each wire will be labeled with a letter, such as R, Y, W, or G. It’s crucial to remember which wire goes where to avoid any issues during the new thermostat set up.

Next, use the built-in level on the back of the Sensi thermostat’s base to ensure that it’s straight when mounted on the wall. Then, connect each labeled wire from your HVAC system to the corresponding terminal on the Sensi thermostat. This is where paying attention to which wire goes where becomes important.
After connecting the wires, gently push any excess wiring back into the wall opening and attach the Sensi thermostat base to the wall using the screws provided. Once secured, snap on the cover of your Sensi thermostat and turn on power at the breaker to begin setup.
When setting up your Sensi thermostat for programming purposes and overall functionality, download and open the Sensi app on your smartphone or tablet. The intuitive setup process will guide you through connecting your new device with your HVAC system.
| Installation Steps | Description |
|---|---|
| Turn Off Power | Ensure safety by turning off power to heating/cooling system at breaker. |
| Remove Existing Thermostat | Take note of labeled wires connected to old thermostat. |
| Mount Sensi Thermostat Base | Use built-in level for straight mounting; connect labeled wires. |
| Snap On Cover | Gently push excess wiring back into wall; screw base securely. |
By following these easy steps, you can make sure that your Sensi thermostat set up is done accurately and efficiently for optimal performance.
Connecting the Sensi Thermostat to Wi-Fi
Once you have completed the physical installation of your Sensi thermostat, the next step is to connect it to your home Wi-Fi network. This will allow you to control your thermostat remotely through the Sensi app and make use of advanced features such as remote temperature adjustment and programming schedules.
To ensure a successful connection to Wi-Fi, follow these steps:
1. Access the Settings Menu: Using the arrows on your Sensi thermostat, navigate to the “Menu” option and press “Select.” Then choose “Wi-Fi” from the menu options.
2. Enter Network Information: You will be prompted to enter your home Wi-Fi network name (SSID) and password. Use the arrows to select letters and numbers, then confirm by pressing “Select.”
3. Connect to Wi-Fi: After entering your network information, your Sensi thermostat will attempt to connect to your Wi-Fi network. Once successfully connected, you will see a confirmation message on the screen.
4. Verify Connection: To double-check that your thermostat is connected to Wi-Fi, look for the Wi-Fi icon on the display screen. This indicates that your Sensi thermostat is now connected and ready for remote access.
5. Install Sensi App: To fully utilize remote access and control features, download and install the Sensi app on your smartphone or tablet. Follow the instructions within the app to create an account and pair it with your newly connected Sensi thermostat.
By following these steps, you can easily connect your Sensi thermostat to Wi-Fi and start enjoying its full range of smart capabilities. Remember that a stable internet connection is important for seamless control through the app, so ensure that your home network has sufficient signal strength in the area where your thermostat is installed.
Programming and Customizing Your Sensi Thermostat
Once you have successfully installed your Sensi thermostat, the next step is to program and customize it to fit your specific needs. The Sensi thermostat allows for easy customization and programming, giving you the flexibility to create a heating and cooling schedule that works best for your lifestyle.
One of the main benefits of the Sensi thermostat is its intuitive and user-friendly interface, which makes programming and customizing a breeze. With just a few simple steps, you can tailor your thermostat settings to maximize comfort while also saving on energy costs.
To begin customizing your Sensi thermostat, start by accessing the settings menu on the device or through the Sensi app on your smartphone. From there, you can set specific temperature preferences for different times of the day, such as when you are home, away, or asleep. You can also create separate schedules for weekdays and weekends to accommodate any variations in your routine.
In addition to setting basic temperature schedules, the Sensi thermostat also offers advanced features such as geofencing and smart alerts. Geofencing allows the thermostat to adjust the temperature based on your smartphone’s location, while smart alerts keep you informed of any significant changes in temperature or if there are issues with your HVAC system.
Another key feature of the Sensi thermostat is its compatibility with voice assistants such as Amazon Alexa and Google Assistant. This allows for hands-free control over your thermostat settings using simple voice commands.
Overall, programming and customizing your Sensi thermostat not only provides personalized comfort but also contributes to significant energy savings over time. By taking advantage of its advanced features and user-friendly interface, you can ensure that your home remains comfortable while optimizing energy efficiency.
| Benefits | Details |
|---|---|
| Easy customization | User-friendly interface makes it simple to create heating and cooling schedules tailored to individual needs. |
| Advanced features | In addition to basic scheduling, includes geofencing capabilities and smart alerts for added convenience. |
| Voice assistant compatibility | Allows hands-free control over thermostat settings using voice commands with compatible devices. |
Troubleshooting Common Issues During Sensi Thermostat Set Up
When setting up a Sensi thermostat, there are a few common issues that users may encounter. Understanding how to troubleshoot these issues can help ensure a smooth and successful installation process. Here are some of the most common problems that users may face when setting up their Sensi thermostat, along with troubleshooting tips to resolve them.
One common issue that users may encounter during the Sensi thermostat set up process is difficulty connecting the thermostat to their HVAC system. This could be due to wiring issues or compatibility issues with the existing system.
To troubleshoot this problem, it is important to double-check the wiring connections and ensure that they are secure and properly inserted. Additionally, referring to the Sensi thermostat’s compatibility guide can help users determine if their HVAC system is compatible with the device.
Another common issue is difficulties in connecting the Sensi thermostat to Wi-Fi. Without a stable Wi-Fi connection, users may not be able to fully utilize all of the features of their Sensi thermostat, such as remote access and energy usage tracking. To troubleshoot this issue, users should ensure that they are within range of their Wi-Fi network and that they have entered the correct network credentials into the Sensi app during set up.
Users may also experience issues with programming and customizing their Sensi thermostat settings. This could be due to difficulties navigating through the menu options or understanding how to set specific schedules for temperature adjustments. To troubleshoot this issue, it is recommended for users to refer to the user manual or online resources provided by Sensi for step-by-step instructions on programming and customizing their thermostat settings.
In some cases, users may encounter technical issues with their Sensi thermostat’s display or functionality after set up. This could range from unresponsive buttons to incorrect temperature readings. Troubleshooting steps for these types of issues typically involve restarting the device or performing a factory reset as outlined in the user manual.
Finally, one common issue that users may encounter during set up is difficulty in accessing customer support or finding resources for troubleshooting. If users run into any problems during the set up process, they should reach out to Sensi’s customer support team for assistance. Additionally, visiting Sensi’s website or browsing online forums can provide helpful tips and insights from other Sensi thermostat users who have encountered similar issues.
By being aware of these common troubleshooting scenarios and knowing how to address them effectively, homeowners can successfully navigate through any challenges they might encounter during the setup of their Sensi Thermostat.
Tips for Maximal Efficiency With Your Sensi Thermostat
In conclusion, setting up a Sensi Thermostat can provide numerous benefits, such as increased energy efficiency and cost savings. With the step-by-step guide provided in this article, users can easily install and program their Sensi Thermostat to suit their specific heating and cooling needs.
Once the Sensi Thermostat is successfully set up, users can maximize its efficiency by taking advantage of its programmable features. By programming the thermostat to adjust temperature settings based on daily schedules or occupancy patterns, users can further reduce energy consumption without sacrificing comfort.
Another way to ensure maximal efficiency with the Sensi Thermostat is by connecting it to Wi-Fi. This allows for remote access and control via the Sensi app, enabling users to adjust settings from anywhere at any time. Additionally, integrating the thermostat with smart home devices or platforms can enhance its capabilities and contribute to a more streamlined and automated home environment.
To troubleshoot common issues during the Sensi Thermostat set up process, refer to the troubleshooting section of this article for helpful tips and solutions. It is important to address any issues promptly in order to fully enjoy the benefits of a properly functioning thermostat.