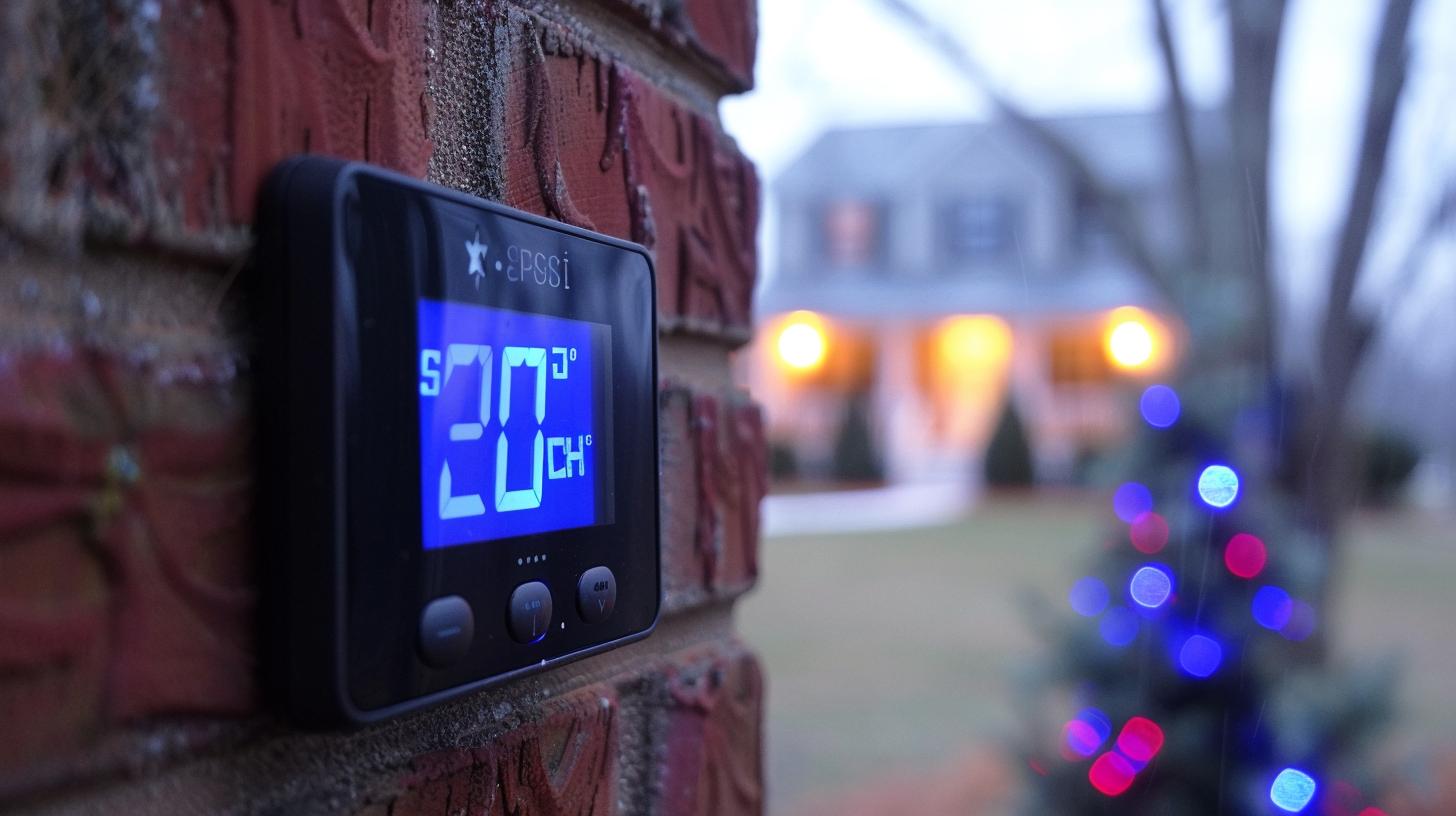
The installation and wiring of a Sensi thermostat is an essential step in ensuring the proper functioning of your HVAC system. Proper wiring is crucial for the seamless operation of your Sensi thermostat, allowing you to control the temperature of your home efficiently.
When it comes to sensi thermostat wiring, understanding the basics of HVAC systems is essential. Whether you are replacing an old thermostat or installing a new one, having a good grasp of how HVAC systems work will ensure that you wire your Sensi thermostat correctly.
In this article, we will discuss the importance of proper wiring for your Sensi thermostat and provide a step-by-step guide to help you with the installation process. We will also cover the tools and materials needed for Sensi thermostat wiring, common mistakes to avoid, troubleshooting tips, and best practices for maintaining and upgrading your sensi thermostat wiring system.
Properly wiring your Sensi thermostat is not only crucial for its efficient functioning but also for safety reasons. Incorrect wiring can lead to malfunctions in your HVAC system and even pose fire hazards. Therefore, it’s important to invest time and effort into understanding how to wire your Sensi thermostat correctly.
Understanding the basics of how your HVAC system works will help you identify the wires that need to be connected to your Sensi thermostat. This knowledge will also aid in troubleshooting any issues that may arise during the installation process or afterward. So let’s dive into the world of Sensi thermostat wiring and ensure that you have all the information you need for a successful installation.
The Importance of Proper Wiring for Your Sensi Thermostat
Proper wiring for your Sensi thermostat is essential to ensure that it functions correctly and efficiently. In this section, we will discuss why proper wiring is important and the impact it can have on the performance of your Sensi thermostat.
1. Safety: Proper wiring is crucial for the safety of your home and everyone in it. Faulty or incorrect wiring can lead to electrical hazards, such as short circuits or electrical fires. Ensuring that your Sensi thermostat is properly wired reduces the risk of these potential dangers.
2. Functionality: The proper wiring of your Sensi thermostat directly affects its functionality. Correct wiring ensures that the thermostat can effectively communicate with your HVAC system, allowing for precise temperature control and energy efficiency.
3. Efficiency: With the correct wiring, your Sensi thermostat can operate at its optimal level, leading to energy savings and lower utility bills. Improper wiring can result in inefficiencies, causing your HVAC system to work harder than necessary and consuming more energy.
4. Longevity: Properly wired Sensi thermostats are less likely to experience malfunctions or breakdowns due to electrical issues. This means that you can enjoy the benefits of your thermostat for a longer period without having to worry about frequent repairs or replacements.
5. Compatibility: Different HVAC systems require specific wiring configurations to work with a Sensi thermostat. It is important to ensure that the wiring matches the requirements of your particular HVAC system to avoid compatibility issues and ensure smooth operation.
Understanding the Basics of HVAC Systems for Sensi Thermostat Installation
When it comes to installing a new Sensi thermostat, it’s crucial to have a good understanding of the basics of your HVAC (heating, ventilation, and air conditioning) system. The proper functioning of your Sensi thermostat relies heavily on the correct wiring and compatibility with your HVAC system. Before you begin the installation process, it’s important to familiarize yourself with how your HVAC system works and how it will interact with the Sensi thermostat.
First and foremost, you need to know the type of HVAC system in your home. Whether you have a single-stage, multi-stage, heat pump, or other type of system will determine the wiring configuration needed for your Sensi thermostat. Different HVAC systems require different wiring setups, so it’s essential to identify what type of system you have before proceeding with the installation.
Additionally, understanding the components and functions of your HVAC system is also vital for a successful installation. This includes knowing how the thermostat interacts with the furnace, air conditioner, heat pump, or other equipment in your HVAC system. This knowledge will help you properly connect the wires from your Sensi thermostat to the corresponding terminals on your HVAC equipment.
In addition to understanding your specific HVAC system, it’s also important to know where your current thermostat is located in relation to your HVAC equipment. The location of your thermostat can impact its ability to accurately sense and control temperature within your home. Being aware of this can help you make informed decisions about where to install your new Sensi thermostat for optimal performance.
By having a solid grasp of these basic concepts related to HVAC systems, you’ll be better equipped to proceed with the wiring and installation of your Sensi thermostat. This foundational knowledge will set you up for success and ensure that your new thermostat operates effectively within your home’s heating and cooling system.
Tools and Materials Needed for Sensi Thermostat Wiring
When it comes to installing a Sensi thermostat, having the right tools and materials is essential for ensuring a smooth and successful wiring process. Whether you are replacing an old thermostat or installing a new one, having the appropriate equipment will make the installation process much easier. Here are some of the essential tools and materials needed for Sensi thermostat wiring:
First and foremost, you will need a screwdriver set with both flathead and Phillips head options. This will be essential for removing the old thermostat and securing the new Sensi thermostat in place. Additionally, having a pair of wire cutters/strippers will also be crucial for cutting and stripping the existing wires to prepare them for connection to the new unit.
In addition to these basic tools, you will also need a voltage tester to ensure that there is no electrical current present before beginning work on your Sensi thermostat wiring. This is an important safety precaution that should not be overlooked. Furthermore, it may be necessary to have a drill and anchors if you are mounting your new Sensi thermostat on a wall surface that requires additional support.
When it comes to materials, you will need a wiring label kit to properly label each wire as you disconnect them from your old thermostat. This will make it much easier to connect the wires to the corresponding terminals on your new Sensi thermostat. Additionally, having electrical tape on hand can help secure any loose wires and provide added protection once the installation is complete.
Lastly, make sure you have spare batteries available if your Sensi thermostat requires them for operation. While most models are designed to be hardwired into your HVAC system, having spare batteries can serve as a backup power source in case of an electrical outage or other issue.
By ensuring that you have all of these tools and materials readily available before beginning your Sensi thermostat wiring installation, you can streamline the process and minimize potential complications or delays. Taking the time to gather these essentials beforehand will ultimately result in a more efficient and successful installation experience.
Step-by-Step Guide to Wiring Your Sensi Thermostat
Installing a Sensi thermostat is a great way to save money on energy bills, but it’s important to ensure that it is wired properly. This step-by-step guide will walk you through the process of wiring your Sensi thermostat to ensure it functions efficiently and effectively.
Turn Off Power
Before beginning the wiring process, it’s crucial to turn off the power supply to your HVAC system at the circuit breaker. This will help prevent any accidents or damage to the system while you are working on the installation.
Remove Old Thermostat
Carefully remove the old thermostat from the wall, exposing the wiring behind it. Take a picture of the existing wiring configuration for reference before disconnecting any wires.
Identify Wires
Identify each wire and its corresponding terminal on both your old thermostat and the Sensi thermostat. The most common wires you’ll encounter are R (power), C (common), W (heat), Y (cooling), and G (fan). If you have additional wires, refer to your Sensi thermostat manual for guidance.
Connect Wires
Using a small screwdriver, connect each wire to its respective terminal on the Sensi thermostat base according to your previous documentation. Ensure that each wire is secure and properly connected to prevent any issues with functionality.
Attach Thermostat Base
Once all wires are connected, attach the Sensi thermostat base to the wall using screws provided in the installation kit. Ensure that it is level and securely mounted before proceeding.
By following these step-by-step instructions, you can successfully wire your Sensi thermostat for optimal performance and energy efficiency in your home.
Common Mistakes to Avoid When Wiring Your Sensi Thermostat
When installing a Sensi thermostat, it is crucial to ensure that the wiring process is done correctly to avoid any potential issues with the system. Making common mistakes during the wiring process can lead to malfunctions, inefficiency, and even damage to your HVAC system. In this section, we will discuss some of the most common mistakes to avoid when wiring your Sensi thermostat.
One common mistake to avoid when wiring your Sensi thermostat is failing to turn off the power before starting the installation process. Failing to cut off power can pose serious safety risks and may even result in electrical shock or damage to your HVAC system. Before beginning the wiring process, always ensure that the power supply to your HVAC system is turned off at the circuit breaker.
Another mistake to avoid is using incorrect wiring techniques or mismatching wires during installation. It is important to carefully follow the manufacturer’s instructions and ensure that each wire is connected to the correct terminal on the thermostat. Additionally, using damaged or frayed wires can also cause issues with your Sensi thermostat’s functionality, so it’s essential to inspect all wires for any signs of wear and tear before proceeding with the installation.
Improperly securing or connecting the wires can also lead to issues with your Sensi thermostat system. It’s important to make sure that each wire is securely attached to its respective terminal on both the thermostat and HVAC system. Loose connections can result in intermittent functioning or complete failure of your thermostat.
Furthermore, another common mistake when wiring a Sensi thermostat is neglecting proper labeling of wires during disconnection from the old thermostat. Failing to label each wire with its corresponding terminal letter on both ends can lead to confusion during installation and may result in incorrect wiring.
Lastly, failing to test and verify proper functioning of your Sensi thermostat after wiring is another mistake that should be avoided. Once you have completed the installation process, it’s crucial to thoroughly test each function of your new system and verify that it is functioning as intended before completing the installation.
By being mindful of these common mistakes and taking necessary precautions during the wiring process, you can ensure a smooth and efficient installation of your Sensi thermostat without encountering any unnecessary issues or complications related sensi thermostat wiring.
Troubleshooting Tips for Sensi Thermostat Wiring Issues
When it comes to troubleshooting issues with sensi thermostat wiring, it’s important to have a good understanding of the common problems that may arise and how to effectively address them. Even with proper installation, there may still be issues that can crop up, so being prepared to troubleshoot is essential for maintaining the functionality of your Sensi thermostat.
Common Wiring Issues
There are a few common issues that may occur with Sensi thermostat wiring. These can include loose or incorrect connections, mismatched wires, or even electrical issues within the HVAC system itself. It’s important to familiarize yourself with these potential problems so you can effectively troubleshoot if they arise.
Testing the Thermostat
One of the first steps in troubleshooting Sensi thermostat wiring issues is to test the thermostat itself. This may involve checking the power source, ensuring that the display is functioning properly, and examining any error codes that may be displayed. By thoroughly testing the thermostat, you can narrow down the potential causes of any issues.
Checking and Revisiting Wiring Connections
If there are issues with your Sensi thermostat, it’s crucial to check all of the wiring connections. This includes verifying that each wire is properly connected to its designated terminal on both the thermostat and HVAC system. If there are any loose or incorrect connections, these should be addressed immediately to ensure proper functionality.
Utilizing Diagnostic Tools
In some cases, using diagnostic tools such as a multimeter may be necessary to troubleshoot sensi thermostat wiring issues. These tools can help you identify any electrical problems within the system and provide valuable information about voltage levels and connectivity.
Consulting a Professional
If you’re unable to identify or address sensi thermostat wiring issues on your own, it may be necessary to consult with a professional HVAC technician. They will have the expertise and experience needed to diagnose and resolve any complex wiring issues that may be affecting your Sensi thermostat.
By being proactive in addressing sensi thermostat wiring issues and having a clear understanding of how to troubleshoot common problems, you can ensure that your Sensi thermostat continues to operate efficiently and effectively.
Connecting Your Sensi Thermostat to Wi-Fi
To fully maximize the capabilities of your Sensi thermostat, one key feature you will want to take advantage of is its Wi-Fi connectivity. With this function, you can control your home’s heating and cooling system from anywhere using your smartphone or tablet. Connecting your Sensi thermostat to Wi-Fi is a relatively straightforward process, but it does require some careful attention to detail.
The first step in connecting your Sensi thermostat to Wi-Fi is to ensure that it is properly installed and wired according to the manufacturer’s instructions. Once you have confirmed that the wiring is correctly in place, you can move on to the Wi-Fi setup process. To begin, make sure that your home’s Wi-Fi network is functioning and that you have the network name and password at hand.
Using the Sensi app on your mobile device, follow the step-by-step instructions provided for connecting the thermostat to Wi-Fi. This typically involves accessing the settings menu within the app, selecting “Wi-Fi Setup,” and then following prompts to enter your network information. Once this information has been entered correctly, the app will guide you through the process of connecting your thermostat to your home’s Wi-Fi network.
After successfully connecting your Sensi thermostat to Wi-Fi, take some time to explore the various features available through the Sensi app. You can set schedules for heating and cooling based on your preferences and usage patterns, receive alerts for extreme temperatures or system malfunctions, and even access energy usage reports to help you better manage your home’s energy consumption.
It’s important to note that a stable and reliable internet connection is crucial for seamless operation of your Sensi thermostat with its Wi-Fi capability. If you encounter any issues with connectivity or functionality after installation, be sure to thoroughly check for any errors in sensi thermostat wiring or inconsistencies in network connectivity before reaching out for technical support.
How to Test and Verify Proper Functioning of Your Sensi Thermostat Wiring
After properly installing and wiring your Sensi thermostat, it is essential to test and verify that everything is functioning correctly. Testing the thermostat will ensure that it is communicating with your HVAC system and that all connections have been made accurately. Here are some steps to follow to test and verify the proper functioning of your Sensi thermostat wiring.
First, you should turn on the power to your HVAC system and set your Sensi thermostat to the cooling or heating mode, depending on the season. Once the thermostat is set, you should check if the corresponding equipment turns on. For example, if you have set the thermostat to cooling mode, your air conditioning unit should start running. If the equipment doesn’t turn on, it could be an indication of a wiring issue.
Next, you will need to check if the temperature readings on your Sensi thermostat match the actual temperature in your home. You can use a separate thermometer for this purpose. If there is a significant discrepancy between the two readings, it could indicate a problem with either the wiring or the placement of the thermostat.
Another important step in testing your Sensi thermostat wiring is to ensure that it is properly receiving power. You can do this by checking for voltage at both ends of each wire using a multimeter. If there is no power at any point in the wiring, then there may be a break or loose connection somewhere along the line.
Additionally, you should test all modes and settings on your Sensi thermostat to ensure that they are working as intended. This includes testing fan settings, scheduling programs, and any other features specific to your model of thermostat.
Finally, after completing these tests, it is crucial to verify that all adjustments and repairs have been effective by re-testing any previously identified issues with functionality or connectivity.
By following these steps to test and verify proper functioning of your Sensi thermostat wiring, you can ensure that your HVAC system will operate efficiently and effectively when controlled by your new smart thermostat.
Best Practices for Maintaining and Upgrading Your Sensi Thermostat Wiring System
In conclusion, proper wiring for your Sensi thermostat is crucial for its efficient functioning and longevity. Ensuring that your thermostat is installed and maintained correctly will not only save you time and money but also provide a comfortable and energy-efficient environment in your home or office.
Understanding the basics of HVAC systems is essential for the installation of your Sensi thermostat. By familiarizing yourself with the wiring requirements and configurations, you can ensure that your thermostat operates seamlessly with your heating, ventilation, and air conditioning system.
When undertaking your Sensi thermostat wiring project, it’s important to have the necessary tools and materials on hand. This includes wire cutters, screwdrivers, a voltage tester, and a power drill. Having everything ready before you begin will make the process smoother and more efficient.
As you follow the step-by-step guide to wiring your Sensi thermostat, be mindful of common mistakes that can occur during installation. One of these errors includes improper connections or mismatched wires which can lead to functionality issues down the line.
To avoid potential setbacks, it’s crucial to carefully follow the manufacturer’s instructions and refer to professional guidance if needed.
After completing the wiring process, it’s important to test and verify that your Sensi thermostat is functioning properly. This involves checking if the heating and cooling systems are responding accordingly to adjustments made on the thermostat. If any issues arise during this stage, refer back to troubleshooting tips for Sensi thermostat wiring issues.
As technology continues to advance, connecting your Sensi thermostat to Wi-Fi has become an industry standard. This feature allows remote access and control of your HVAC system through a smartphone or computer. By following recommended protocols for Wi-Fi setup, you can maximize the capabilities of your Sensi thermostat while ensuring data security.
Ultimately, maintaining and upgrading your Sensi thermostat wiring system is an ongoing process that requires periodic checks for wear and tear or potential upgrades as models evolve. By staying informed on best practices for maintenance and keeping up-to-date with advancements in technology, you can ensure that your Sensi thermostat continues to operate optimally for years to come.