

Are you wondering how to reverse a video on iPhone? Video editing on your iPhone can open up a world of creative possibilities, allowing you to add unique touches to your videos. One popular technique is reversing a video, which can create interesting and engaging visual effects. In this article, we will explore the process of reversing a video on iPhone, from understanding the need for this feature to step-by-step guides and tips for getting the best results.
Video editing on iPhone has become more accessible and user-friendly than ever before, thanks to the built-in features and third-party apps available. Whether you are an amateur videographer or a seasoned content creator, having the ability to edit and manipulate videos directly on your iPhone can be incredibly convenient.
Understanding the need for reversing a video is crucial in grasping its potential impact on your final product. Reversing a video can add an element of surprise, create visually captivating scenes, or simply provide an interesting twist to your storytelling. Whatever your reason may be, knowing how to effectively reverse a video can significantly enhance your video editing skills.
In the following sections, we will provide a detailed step-by-step guide on how to reverse a video on iPhone using both built-in features and third-party apps. Additionally, we will offer tips and tricks for achieving the best results when reversing a video, as well as exploring additional features such as adding effects and filters.
By the end of this article, you will have gained valuable insights into the process of reversing a video on iPhone, along with troubleshooting tips for common issues that may arise during the editing process. So let’s dive into the world of video editing on iPhone and discover the exciting possibilities that await.
Understanding the Need for Reversing a Video
Do you ever wish to see your life moving backward? Watching a video in reverse can be a fun and creative way to add a unique touch to your content. Whether you want to create an intriguing visual effect or simply want to change things up, there are various reasons why you might need to reverse a video on your iPhone.
1. Create an engaging storytelling element: Reversing a video can add a captivating storytelling element to your content. By showing events unfolding in reverse, you can pique the viewer’s interest and encourage them to watch until the end. This technique is commonly used in music videos, commercials, and social media posts, as it can create a visually stunning and thought-provoking experience for the audience.
2. Add a comedic or surreal twist: Have you ever seen someone walk backward or objects move in reverse? When used creatively, reversing a video can bring a comedic or surreal twist to your content. You can showcase everyday activities, such as cooking or playing sports, in a completely new and unexpected way. This approach adds an element of surprise and entertainment value that can make your videos stand out.
3. Highlight hidden details: Reversing a video allows you to highlight hidden details that may go unnoticed when played forward. Subtle movements, changes in scenery, or visual effects can become more noticeable when viewed in reverse. This technique is especially useful for showcasing intricate processes, revealing surprises, or emphasizing specific elements within the footage.
4. Experiment with artistic expression: Reversing a video provides an opportunity for artistic expression and experimentation with visual storytelling. It allows you to play with time and motion, creating mesmerizing loops or abstract sequences that captivate viewers’ attention. Whether you want to convey a dreamlike atmosphere or evoke emotions through unconventional visuals, reversing a video offers endless possibilities for artistic exploration.
5. Enhance creativity and engagement: Ultimately, reversing a video on your iPhone presents an opportunity to enhance your creativity and engage with your audience in new ways. It adds an element of novelty and surprise that can leave a lasting impression on viewers. By understanding the potential impact of reversed videos, you can harness this technique to elevate your content creation efforts and craft compelling visual narratives.
By recognizing the various benefits of reversing a video on iPhone, you can explore this feature as a valuable tool for enhancing the quality and appeal of your videos.
Step-by-Step Guide on How to Reverse a Video on iPhone
Are you looking to add a creative twist to your videos on iPhone? Reversing a video can add an interesting and unexpected element to your footage. Whether you want to create a fun and quirky clip or add a unique touch to your content, knowing how to reverse a video on iPhone can be a valuable skill for any amateur videographer.
Accessing the Built-in Editing Tools
Before you start reversing your video, it’s important to familiarize yourself with the built-in editing features available on your iPhone. These tools can provide you with the basic functionalities needed for reversing a video without having to download additional apps.
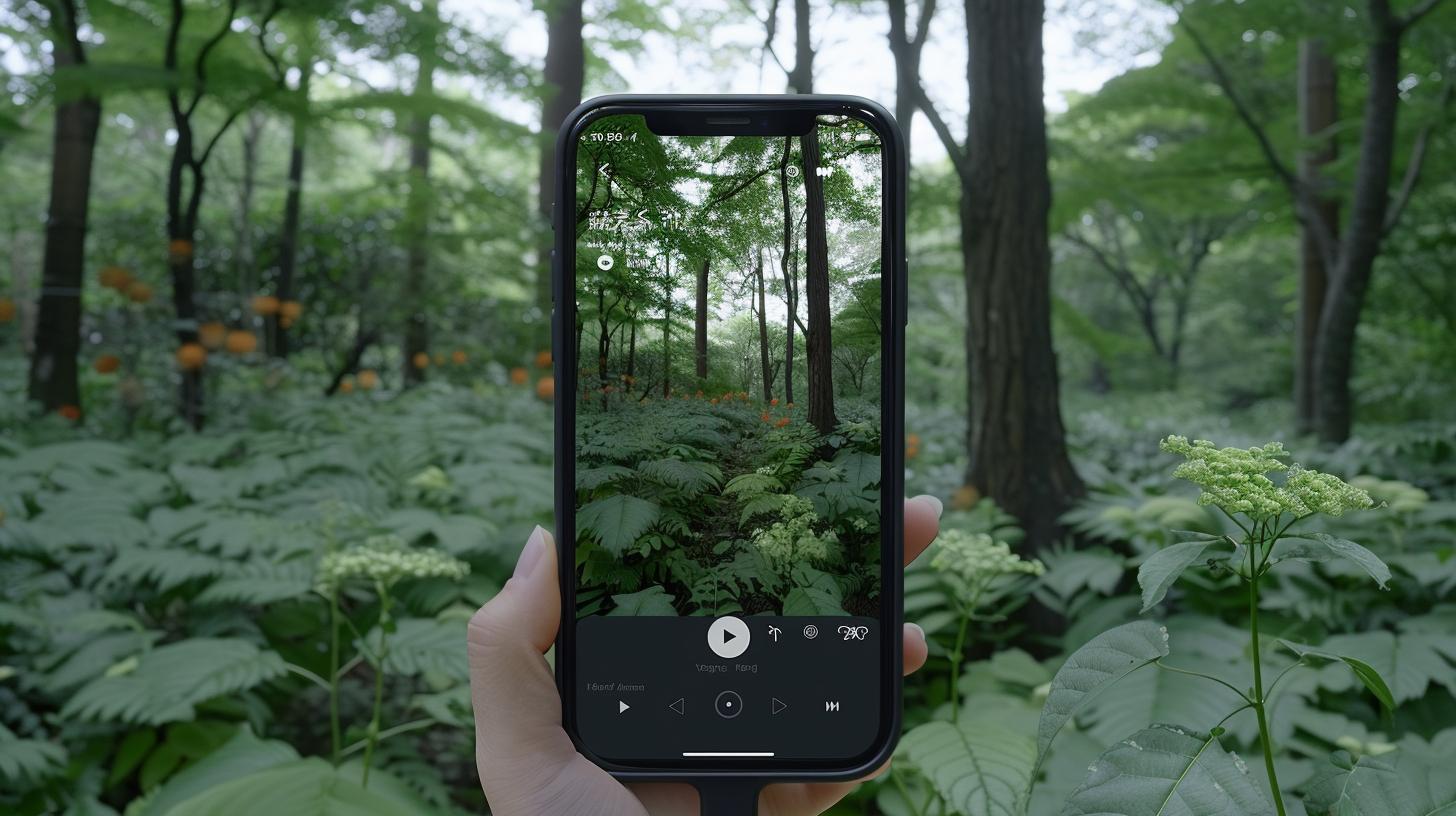
Step 1: Open the Photos App
Begin by opening the Photos app on your iPhone and selecting the video that you want to edit.
Step 2: Choose “Edit”
Once you have selected the video, tap on the “Edit” button located at the top right corner of the screen.
Step 3: Select “Revert”
After tapping on “Edit,” look for the “Revert” option. This allows you to revert back to original settings if needed before proceeding with further edits.
Using Third-Party Apps for More Advanced Features
If you find that the built-in editing tools are limited, there are several third-party apps available for download that offer more advanced features for reversing videos. These apps may provide additional options for customization and creativity, allowing you to achieve more professional-looking results.
When using third-party apps, it is important to carefully review their capabilities and user reviews before making a selection. Look for apps that have positive ratings and are frequently updated by their developers.
By following these steps and considering additional tips and tricks, mastering the art of reversing videos on iPhone can be an enjoyable process. Whether you’re creating content for social media or simply experimenting with new visual effects, knowing how to reverse a video can open up new possibilities for unleashing your creativity.
Exploring the Built-in Video Editing Features on iPhone
When it comes to video editing on iPhone, many users may not be aware of the built-in features that can help them achieve professional-looking results without the need for third-party apps. In this section, we will explore the various tools and options available within the native Photos app on iPhone for editing and reversing videos.
Here Are Some of the Key Built-in Video Editing Features on iPhone
- Trimming: The ability to cut out unwanted sections from the beginning, middle, or end of a video.
- Splitting: Dividing a video into parts for more precise editing.
- Speed adjustment: Speeding up or slowing down a video to create dramatic or comedic effects.
- Reversal: The option to reverse a video to play backwards.
Now that we have a better understanding of the built-in video editing features on iPhone, let’s focus on how to specifically use the reversal feature.
Step-by-Step Guide on How to Reverse a Video on iPhone
- Open the Photos app and select the video you want to edit.
- Tap “Edit” in the upper right corner of the screen.
- At the bottom of the screen, tap on the icon that looks like three circles overlapping each other. This will bring up additional editing options.
- Select “Reversal” from the available options. You should see your video play backwards in real-time.
- If you’re happy with how it looks, tap “Done” in the bottom right corner and then choose “Save as New Clip” if you want to keep both versions of the video.
By following these simple steps, users can easily reverse a video directly within the Photos app on their iPhone without any additional software. However, there are also third-party apps available that offer even more advanced features for those who want to take their video editing skills to the next level.
In our next section, we will discuss some popular third-party apps that can be used for reversing videos on iPhone and explore their unique capabilities.
Using Third-Party Apps for Video Reversal
While the built-in video editing features on iPhone are convenient and user-friendly, some users may want more advanced options for reversing their videos. Thankfully, there are several third-party apps available on the App Store that offer a wide range of editing tools, including the ability to reverse a video.
One popular app for video editing on iPhone is “InShot”, which allows users to easily reverse a video with just a few taps. After downloading and installing the app from the App Store, simply open the app and select the “Video” option from the main menu.
From there, choose the video you want to reverse from your camera roll and tap on the “Reverse” option. In just a few moments, your video will be successfully reversed and ready for further editing or sharing.
Another great option for reversing videos on iPhone is “Videoshop”. This app also offers a simple and intuitive interface for reversing videos, as well as adding music, trimming clips, and applying filters. To reverse a video using Videoshop, open the app and select your desired video from your camera roll. Then, tap on the “Reverse” button and wait for the app to process your video.
For those who prefer more professional-grade editing tools, “LumaFusion” is an excellent choice. This app is highly regarded for its advanced features and capabilities, including the ability to reverse videos with precision and control. While LumaFusion comes with a price tag, many users find it well worth the investment for its comprehensive set of editing options.
Overall, third-party apps can provide additional flexibility and creative control when it comes to reversing videos on iPhone. Whether you’re looking for basic functionality or advanced editing tools, there are plenty of options available to suit your specific needs.
| App Name | Features |
|---|---|
| InShot | Easy reversal process with intuitive interface |
| Videoshop | Simple video reversal along with music addition and filtering options |
| LumaFusion | Advanced features for precise video reversal and professional-grade editing capabilities |
Tips and Tricks for Getting the Best Results When Reversing a Video
Reversing a video on iPhone can be a fun and creative way to add an unexpected twist to your footage. However, it’s important to keep in mind that simply hitting the reverse button isn’t always enough to achieve the desired effect. In this section, we will discuss some tips and tricks for getting the best results when reversing a video on iPhone.
First and foremost, it’s essential to start with high-quality footage. The better the initial video quality, the better the reversed version will look. Pay attention to lighting, composition, and overall visual appeal when shooting your original video.
When it comes to selecting a segment of your video to reverse, try to find a clip with distinct movements or actions. This will make the reversed version more visually interesting. For example, if you’re recording someone walking or dancing, these types of movements tend to look striking when played in reverse.
In addition, consider the audio aspect of your video. If there is dialogue or music in your original footage, think about how it will sound when played backwards. Sometimes this can create an eerie or otherworldly effect that adds depth to your reversed video.
Experiment with different speeds when playing your reversed video. Depending on the content of your footage, adjusting the playback speed can make a significant difference in how compelling the final result is.
Lastly, don’t be afraid to get creative with effects and filters. While they should be used judiciously, adding subtle enhancements can elevate your reversed video and give it a unique aesthetic that sets it apart.
| Tip | Description |
|---|---|
| Use slow motion in combination with reversals for dramatic effect | This technique can create mesmerizing visuals |
| Consider using stabilization features before reversing a handheld video | This helps reduce shakiness and makes the final result more polished |
Adding Effects and Filters to a Reversed Video
Video editing on iPhone has become increasingly popular, with more and more people using their devices to capture and edit videos for social media, personal projects, or professional purposes. One of the key features of video editing is the ability to reverse a video, creating an interesting and unique effect. In this section, we will explore how to add effects and filters to a reversed video on iPhone, taking your editing skills to the next level.
Why Add Effects and Filters?
Adding effects and filters to a reversed video can enhance its visual appeal and make it stand out. Whether you want to create a vintage look, add dramatic flair, or simply make your video more visually engaging, effects and filters can help you achieve your desired outcome.
How to Reverse a Video on iPhone
Before adding effects and filters to a reversed video, it’s important to first know how to reverse a video on iPhone. To do this, open the Photos app, select the video you want to reverse, tap “Edit,” then tap the “More” button (three dots) and select “Revert.” Once the video is reversed, you can proceed with adding effects and filters.
Using Built-in Features
The built-in iMovie app on iPhone offers various effects and filters that can be applied to reversed videos. You can experiment with options like “Aged Film,” “Blockbuster,” and “Film Grain” to give your reversed video a unique look.
Third-Party Apps
In addition to using built-in features, you can also explore third-party apps for adding effects and filters to reversed videos. Apps like Filmmaker Pro and InShot offer a wide range of creative options for enhancing your videos.
Tips for Best Results
To ensure that your reversed video looks its best with added effects and filters, consider factors such as lighting, color balance, and composition before applying any edits. Experiment with different settings and preview your changes before finalizing them.
Sharing and Saving Your Reversed Video on iPhone
After successfully reversing a video on your iPhone, the next step is to save and share your masterpiece with friends, family, or on social media. The process of saving and sharing a reversed video on your iPhone is relatively straightforward, regardless of whether you are using the built-in features of your device or third-party apps.
To save your reversed video, simply tap on the “Done” button after completing the editing process. This will prompt you to either save the video as a new clip or overwrite the original video.
If you choose to save it as a new clip, a copy of the reversed video will be saved in your Photos app, while the original remains untouched. On the other hand, if you opt to overwrite the original video, the changes will replace the original file.
When it comes to sharing your reversed video, you have several options at your disposal. You can easily share it directly from the Photos app by selecting the video and tapping on the share icon. From there, you can choose to send it via iMessage, email, or upload it to various social media platforms such as Instagram, Facebook, or YouTube.
If you want to further customize your reversed video before sharing it, consider adding effects and filters using either the built-in editing tools or third-party apps. This can enhance the visual appeal of your creation and make it stand out even more when shared with others.
In some cases, you may encounter issues when trying to save or share a reversed video on iPhone. These can range from compatibility issues with certain apps to storage limitations on your device. If you do come across any problems during this process don’t worry – there are solutions available that can help troubleshoot common issues and ensure that you are able to successfully save and share your reversed videos hassle-free.
By following these simple steps for saving and sharing a reversed video on iPhone, you’ll be able to showcase your creativity and share memorable moments with others in a unique way. Whether it’s for personal enjoyment or social sharing, mastering this process will undoubtedly open up new opportunities for expressing yourself through multimedia content.
Remember that practice makes perfect when it comes to mastering any skill – including reversing videos on an iPhone. So don’t be afraid to experiment with different techniques and features until you find what works best for you.
Troubleshooting Common Issues When Reversing a Video
While reversing a video on your iPhone can be a fun and creative process, it’s not without its potential challenges. Understanding and troubleshooting common issues that may arise during the video reversal process is essential to achieving the best results.
One common issue that iPhone users may encounter when attempting to reverse a video is the quality of the reversed footage. In some cases, the reversed video may appear pixelated or blurry, especially if the original video was of low quality.
To avoid this issue, it’s important to start with a high-quality video before applying the reverse effect. Additionally, adjusting the settings for resolution and frame rate in your iPhone’s video editing app can help improve the overall quality of the reversed video.
Another issue that users may face when reversing a video on their iPhone is audio synchronization problems. When a video is reversed, the audio also plays in reverse, which can affect the overall viewing experience. To address this issue, consider using a third-party video editing app that offers more advanced audio manipulation features. These apps often have options for fine-tuning audio playback, allowing you to synchronize audio with the reversed footage effectively.
Furthermore, some users may find that certain parts of their videos do not reverse as expected or appear distorted after applying the reverse effect. This can occur when there are complex movements or visual elements in the original footage.
In such cases, it may be necessary to manually edit specific segments of the reversed video to correct any distortions or inconsistencies. Utilizing precise editing tools and techniques within your chosen video editing app can help address these issues and ensure a seamless reversal process.
Additionally, users may encounter difficulties when trying to save or export their reversed videos from their iPhones. This could be due to file format compatibility issues or storage limitations on the device. It’s advisable to familiarize yourself with different file formats supported by your iPhone and choose an appropriate format for saving your reversed videos. Moreover, regularly clearing up storage space on your device can help prevent any exporting issues related to insufficient storage capacity.
Finally, networking connectivity problems can also hinder sharing and saving reversed videos on an iPhone. Ensure that your device has a stable internet connection or sufficient cellular data allowance to upload your videos onto social media platforms or cloud storage services seamlessly.
By addressing these common issues and implementing troubleshooting strategies proactively, iPhone users can enhance their experience of reversing videos on their devices.
As you continue exploring and experimenting with how to reverse a video on iPhone, being aware of these troubleshooting tips will contribute significantly toward overcoming potential hurdles during the process of creating engaging and visually captivating reversed videos without compromising quality or creativity.
Conclusion and Final Thoughts on the Process of Reversing a Video on iPhone
In conclusion, reversing a video on iPhone can be a fun and creative way to add a unique touch to your videos. Whether you want to create a cool visual effect or simply experiment with different editing techniques, the process of reversing a video can help you achieve your desired result. Understanding the built-in video editing features on iPhone, as well as utilizing third-party apps, can provide you with the tools needed to easily reverse a video.
As discussed in this article, the step-by-step guide on how to reverse a video on iPhone provides a clear and concise overview of the process. By following these instructions, you can quickly and efficiently reverse any video on your iPhone. Additionally, the tips and tricks provided offer valuable insights into achieving the best results when reversing a video, such as choosing the right footage and adjusting playback speed.
Furthermore, exploring the options for adding effects and filters to a reversed video can enhance the visual appeal of your content. Whether it’s creating a captivating slow-motion effect or adding vibrant colors through filters, these features allow for endless creative possibilities. Lastly, sharing and saving your reversed video is made simple through various platforms, allowing you to showcase your work with ease.